Ultralight Backpacking: Overnight Hiking Essentials
Learn what gear you actually need for an ultralight overnight — from the Big Three to food strategy — without sacrificing safety or comfort on the trail.
I still remember the first overnight I did with a pack that felt light enough to actually enjoy. Not just “manageable heavy” — genuinely light. I covered more miles without thinking about my shoulders, set up camp in minutes, and woke up actually excited to move. That shift didn’t come from willpower. It came from rethinking what I actually needed.
Ultralight backpacking isn’t about deprivation. It’s about intentionality. It’s a philosophy that frees you from the burden of a heavy pack and allows you to connect more deeply with the wilderness — more miles with less pain, more enjoyment of the views, and less time wrestling with cumbersome gear. For an overnight, that philosophy pays huge dividends: you’re out for one night, which means every extra pound is deadweight that doesn’t serve you.
This guide breaks down exactly what you need — and what you don’t — to build a smart, lightweight overnight kit. We’ll cover the Big Three, layering your clothing system, fueling yourself efficiently, and the specific decisions that separate a 28-pound sufferfest from a clean, capable 15-pound load.
Understanding Base Weight: The Numbers That Matter
Before you buy a single piece of new gear, you need a number to aim at.
Base weight refers to the weight of your pack itself and all the items carried in it that don’t fluctuate during your hike — meaning everything except food, water, and fuel. The general consensus is that “ultralight” backpacking is when your base weight is under 10 pounds, and it’s much easier to accomplish when you’re backpacking with another person and can split group gear.
To put those numbers in perspective: traditional backpackers carry base weights of 15 to 30 lbs, and in some cases — winter trips, extended trips, or multi-purpose trips requiring additional gear — as much as 55 lbs or more. Most first-timers land somewhere in that traditional range without realizing it, simply because they haven’t audited what’s in their pack.
The fix is straightforward. Create a gear spreadsheet — it’s a non-negotiable step for anyone serious about going ultralight. List every single item you plan to carry, from your tent stakes to your toothbrush, and weigh each one with a kitchen scale. This simple document reveals exactly where your weight is hiding and allows you to make informed decisions about what to upgrade or leave behind.
One honest note: you’ll be aiming for a total base weight of about 10 pounds, but once you add consumables, that weight may double. For an overnight, food and water typically add 3–6 lbs. Budget accordingly.
The Big Three: Where the Real Weight Savings Live
Ask any experienced thru-hiker where to start cutting weight and you’ll get the same answer: the Big Three.
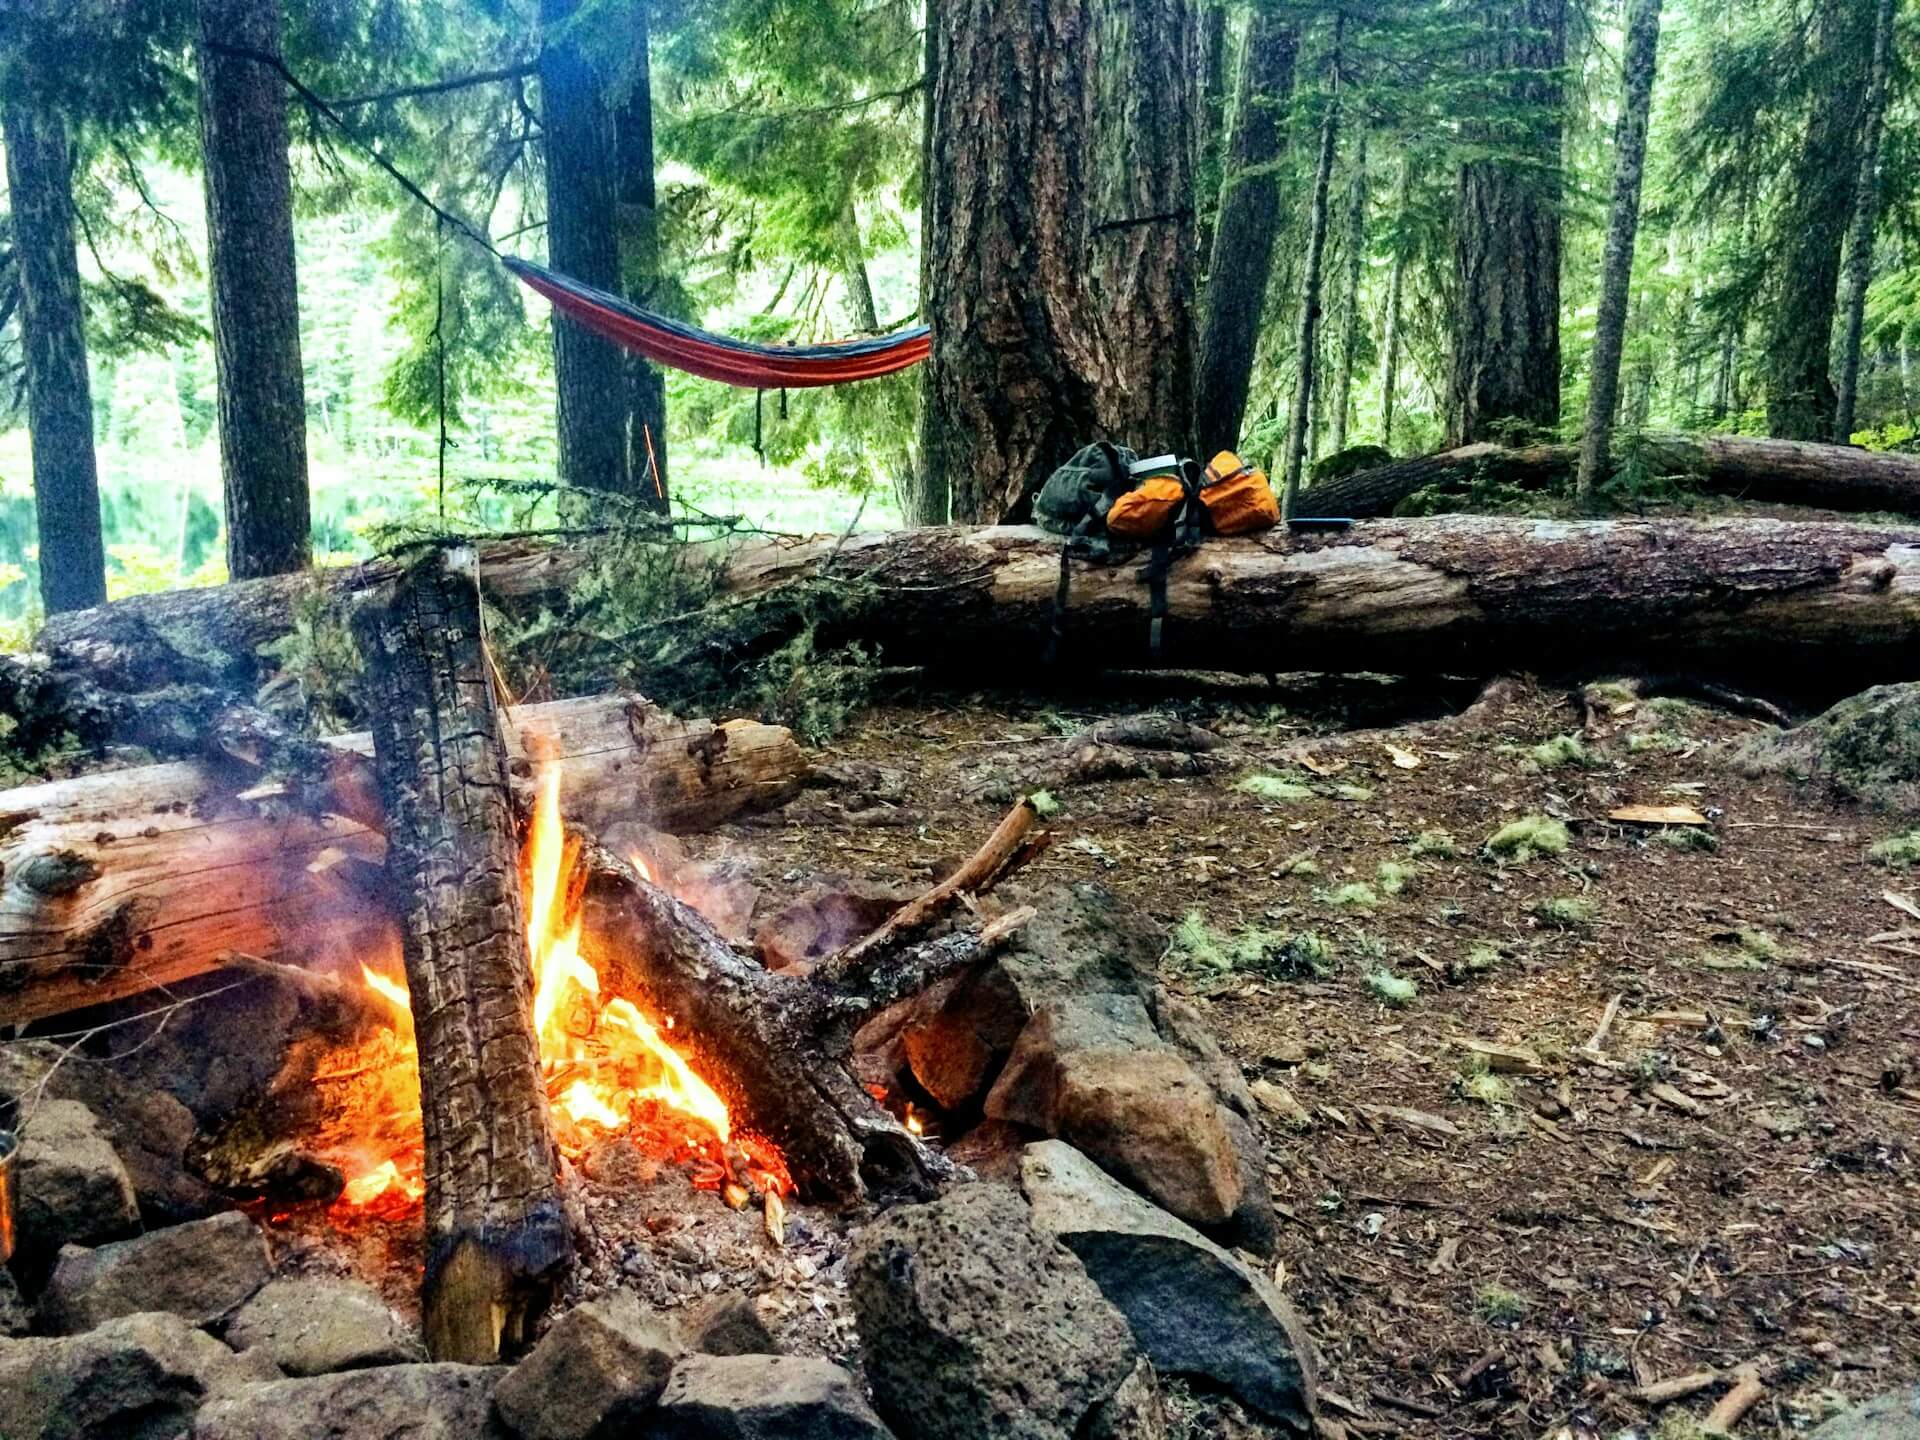
The three heaviest items in your backpack are your pack, your sleep system (sleeping bag plus pad), and your shelter — often called the Big Three. Your sleeping bag and pad are treated as one item because you really can’t use them separately for sleeping. Ultralight backpackers aspire to get each of their Big Three items under 3 pounds, for a total of 9 pounds. That’s your benchmark.
Shelter
Ultralight shelters include tarps, bivy sacks, and compact tents. The key is to opt for shelters suited to the weather and terrain — in mild conditions, a simple tarp setup with trekking poles can save significant weight.
The trade-offs are real. Tarps are the lightest option, incredibly versatile, and can be fashioned in a number of setups — pitched close to the ground in wind and rain, or raised for more airflow in hot weather. But you lose protection from insects and the critters that might want to warm up next to you at night.
For most overnight hikers, a trekking-pole tent — a single-wall shelter that uses your poles instead of dedicated tent poles — hits the sweet spot. A solid ultralight solo tent should come in at 2 lbs or less; a tarp at 1 lb or less. Some options like the Gossamer Gear The One clock in around 17.7 oz, and several DCF (Dyneema Composite Fabric) shelters push well under a pound. Shelters made with DCF weigh a fraction of what traditional nylon shelters do, as do sleeping bags and quilts filled with down versus synthetic insulation — but those ultralight materials often cost two to three times as much as their traditional counterparts.
Sleep System
Think of the sleep system as a combined unit rather than individual parts. The sleeping pad makes for a more comfortable night in two important ways: it provides padding from the ground but, more importantly, it provides insulation. When you lie on your sleeping bag, you crush the loft and corresponding insulation — and that’s where the sleeping pad saves the night.
For the bag (or quilt), down is the default choice at this level. When choosing an ultralight sleeping bag, consider the temperature rating, insulation type, weight, and packed size. Down bags are generally lighter and more compressible, but synthetic bags perform better in wet conditions. A well-chosen 20°F down quilt typically runs 18–24 oz; a comparable mummy bag in synthetic fill can easily double that.
Ultralight quilts achieve their low weight by shedding unnecessary features, using premium high-fill-power down, and employing minimalist designs. Quilts take this a step further by removing the back insulation and zipper — useless when compressed beneath your body — making them a critical component of any modern ultralight kit. If you’ve always slept in a mummy bag, quilts take one or two nights to adjust to, but most converts never go back.
For the pad, air pads have replaced self-inflating pads as the lightest comfort option for backpacking — for under one pound you can get a full-length pad with real cushioning. Thru-hikers, however, still typically prefer closed-cell foam for its durability over the long haul. For a single overnight, an air pad makes more sense unless you’re on technical, sharp terrain.
The Pack
Save the pack purchase for last. The last item you should put on a weight diet is your backpack, because you won’t have a good idea about the volume you’ll really need until you replace your sleeping bag and tent.
For an ultralight pack, aim for under 2 pounds with a 35–55 liter capacity depending on trip length. Options like the Zpacks Arc Blast (21 oz) or Hyperlite Mountain Gear Southwest (30 oz) are strong choices. Look for packs made from lightweight, strong materials like Dyneema or ripstop nylon, with capacity appropriate for your trip length. Pay attention to frame design — some ultralight packs have minimal or no frame to save weight. For an overnight with a sub-10 lb base weight, you probably don’t need more than 35 liters.
Clothing: Build a Layering System, Not a Wardrobe
Clothing is where hikers bleed weight without realizing it — an extra shirt here, a spare pair of pants there. The ultralight approach isn’t “bring less clothing and be cold.” It’s “bring the right layers that do multiple jobs.”
A good 3-season backpacking layering system should be lightweight, dry quickly, breathable, and able to handle rain, sleet, snow, and temps down to the mid-20s (F). In practice, that means three to four pieces: a base layer, a mid-layer, a puffy or fleece for camp warmth, and a waterproof shell.
For the base layer, merino wool has become the standard at this level. Merino naturally resists odor, retains its warmth even when wet, resists wrinkles, and — as a natural fiber — has real environmental advantages over synthetics. The practical upside for overnighters: one merino shirt does double duty as your hiking layer and your sleep layer, saving you from packing a dedicated camp shirt.
Break your clothing into two categories: hiking clothes that can get sweaty (typically short sleeves or a sun hoodie) and camp clothes that stay dry (typically long sleeves). The key is overlap — a merino long-sleeve base layer you hike in doubles as your sleep layer, and your puffy does duty both at camp and as extra insulation inside your quilt on cold nights.
The one non-negotiable regardless of season: a waterproof shell. Even on forecast-clear nights, conditions change fast in the mountains.
Food and Water: Fuel Efficiency on One Night’s Food
For an overnight, food isn’t the biggest weight challenge — but it’s still worth thinking about strategically.
Choose foods that provide at least 100 calories per ounce — 125 calories or more per ounce is even better. The goal is to make every ounce of the food in your backpack count while balancing your need for carbohydrates, proteins, and fats. High-performers by that metric: almonds clock in at around 160 calories per ounce, and olive oil hits 240 calories per ounce — 100% fat, making it one of the most calorically dense foods you can carry on the trail. A drizzle on any dinner adds serious fuel without notable weight.
Many ultralight backpackers aim for about 1½ to 2 lbs of food (or 2,500 to 4,500 calories) per person per day, depending on factors like size, weight, intensity of exercise, and how many days they’re out. For a single overnight, you can trim closer to the lower end.
On the cooking question, you have real options. No-cook or cold-soaking eliminates the need for a stove and fuel entirely. You can skip hot meals altogether — just bring food you don’t need to cook: energy bars, sausage, jerky, cheese, nuts, and snacks. Another approach is to cold-soak food: add cold water to dry ingredients or a dehydrated meal, let it rehydrate, and eat it cold. Ramen noodles, beans, couscous, and hummus work well with this method.
Even the lightest kitchen setups can weigh upwards of 10 ounces — that’s a canister stove plus fuel plus a titanium pot. For one night, going stoveless is worth considering, especially in warm weather. But if you’re going in cold, there’s real psychological and physiological value in a hot meal. No judgment either way.
For water, the Sawyer Squeeze has cemented itself on countless ultralight backpacking gear lists because it’s simple, effective, and very lightweight. Pair it with two Smartwater bottles (about 1.5 oz each) instead of a heavy Nalgene and you’ve already shaved meaningful ounces off your water carry.
Water is incredibly heavy at 2.2 lbs (1 kg) per liter. Plan your trip around water sources — you’ll need to realistically calculate how much water you need per mile based on terrain and temperature. On a well-watered trail, you might never need to carry more than a liter at a time.
The “Stupid Light” Line: Don’t Cross It
There’s a meaningful distinction between ultralight and reckless. Ultralight backpackers can get in trouble when they leave behind essential items — first-aid supplies, physical maps, weather-specific gear — to reduce their base weight. This practice of being “stupid light” is foolish and can put hikers in danger.
No matter how dialed your kit gets, certain things don’t get cut: a basic first aid kit, navigation backup (a downloaded offline map at minimum), a headlamp with fresh batteries, and weather-appropriate layers. Prepare for worst-case scenario weather, bring a complete first aid kit, and pack physical or digital maps when navigating unfamiliar terrain.
The rule I follow: if leaving something behind could seriously compromise my safety or ability to get out, it stays in the pack — regardless of what it weighs.
Practical Tips
- Weigh everything first. Before buying new gear, audit what you already own with a kitchen scale. You’ll find easy wins immediately.
- Attack the Big Three first. By upgrading your shelter, backpack, and sleep system, you can often shed five to ten pounds in a single step.
- Use multi-purpose gear. Find multiple uses for single items — use your down jacket as a pillow, or eat from your cooking pot instead of a separate dish.
- Right-size your pack for the trip. Carry fewer water bottles when water sources are abundant, opt for a lighter rain layer if no rain is in the forecast, use a lighter sleeping bag if you only backpack in summer.
- Share gear when hiking with others. If backpacking with others, share items — a group of three may only require a single shelter and cook system, and that gear can be divided among the group.
- Repackage food before you leave. Reduce weight by repackaging foods in Ziploc bags before your trip. Your food bag may start heavy and bulky, but each day it gets lighter and smaller.
- Don’t over-carry water. Know your water sources, filter en route, and carry only what you need to the next one.
- Test your kit on short trips first. Always test your gear on shorter trips to make sure everything functions well before embarking on longer adventures.
- Evaluate after every outing. At the end of each trip, analyze what you brought, what you used, and what you didn’t. If you didn’t use an item, don’t bring it next time — unless it’s something like a first aid kit or rain layers you don’t use every time.
Wrapping Up
Getting your overnight kit genuinely light isn’t a one-trip project — it’s an iterative process of honest evaluation, strategic upgrades, and accumulated trail experience. Start with the Big Three, get a spreadsheet going, and resist the urge to buy everything at once. The hikers passing you on the trail with tiny packs and a bounce in their step got there the same way: one good decision at a time.
Your next step: weigh everything in your current pack tonight. That number might surprise you — and it’ll tell you exactly where to start.